Monday, December 28, 2009

More Custom Midsole Cleats

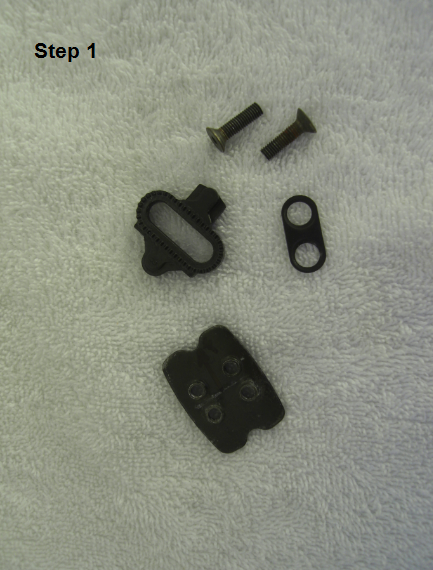
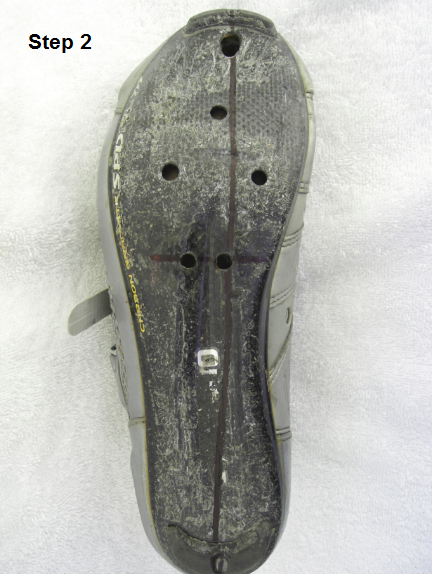
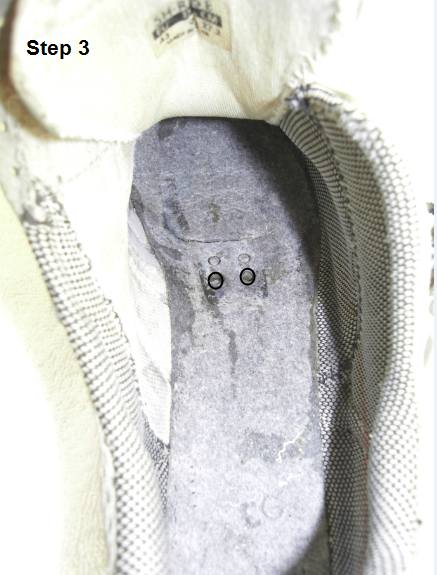
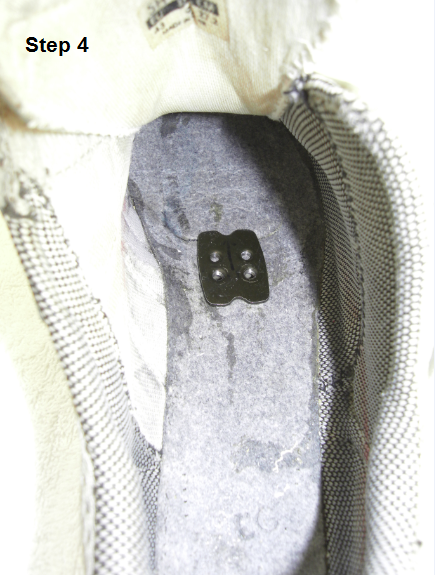
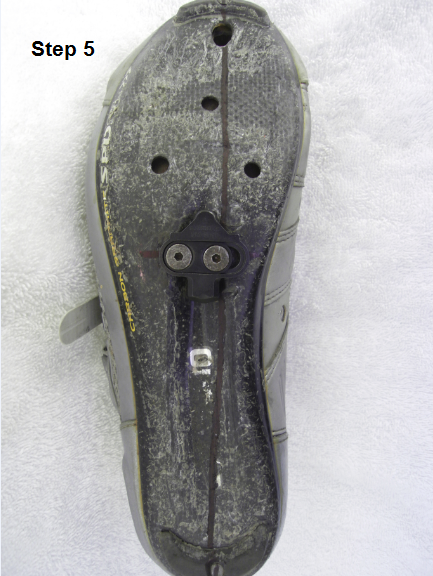
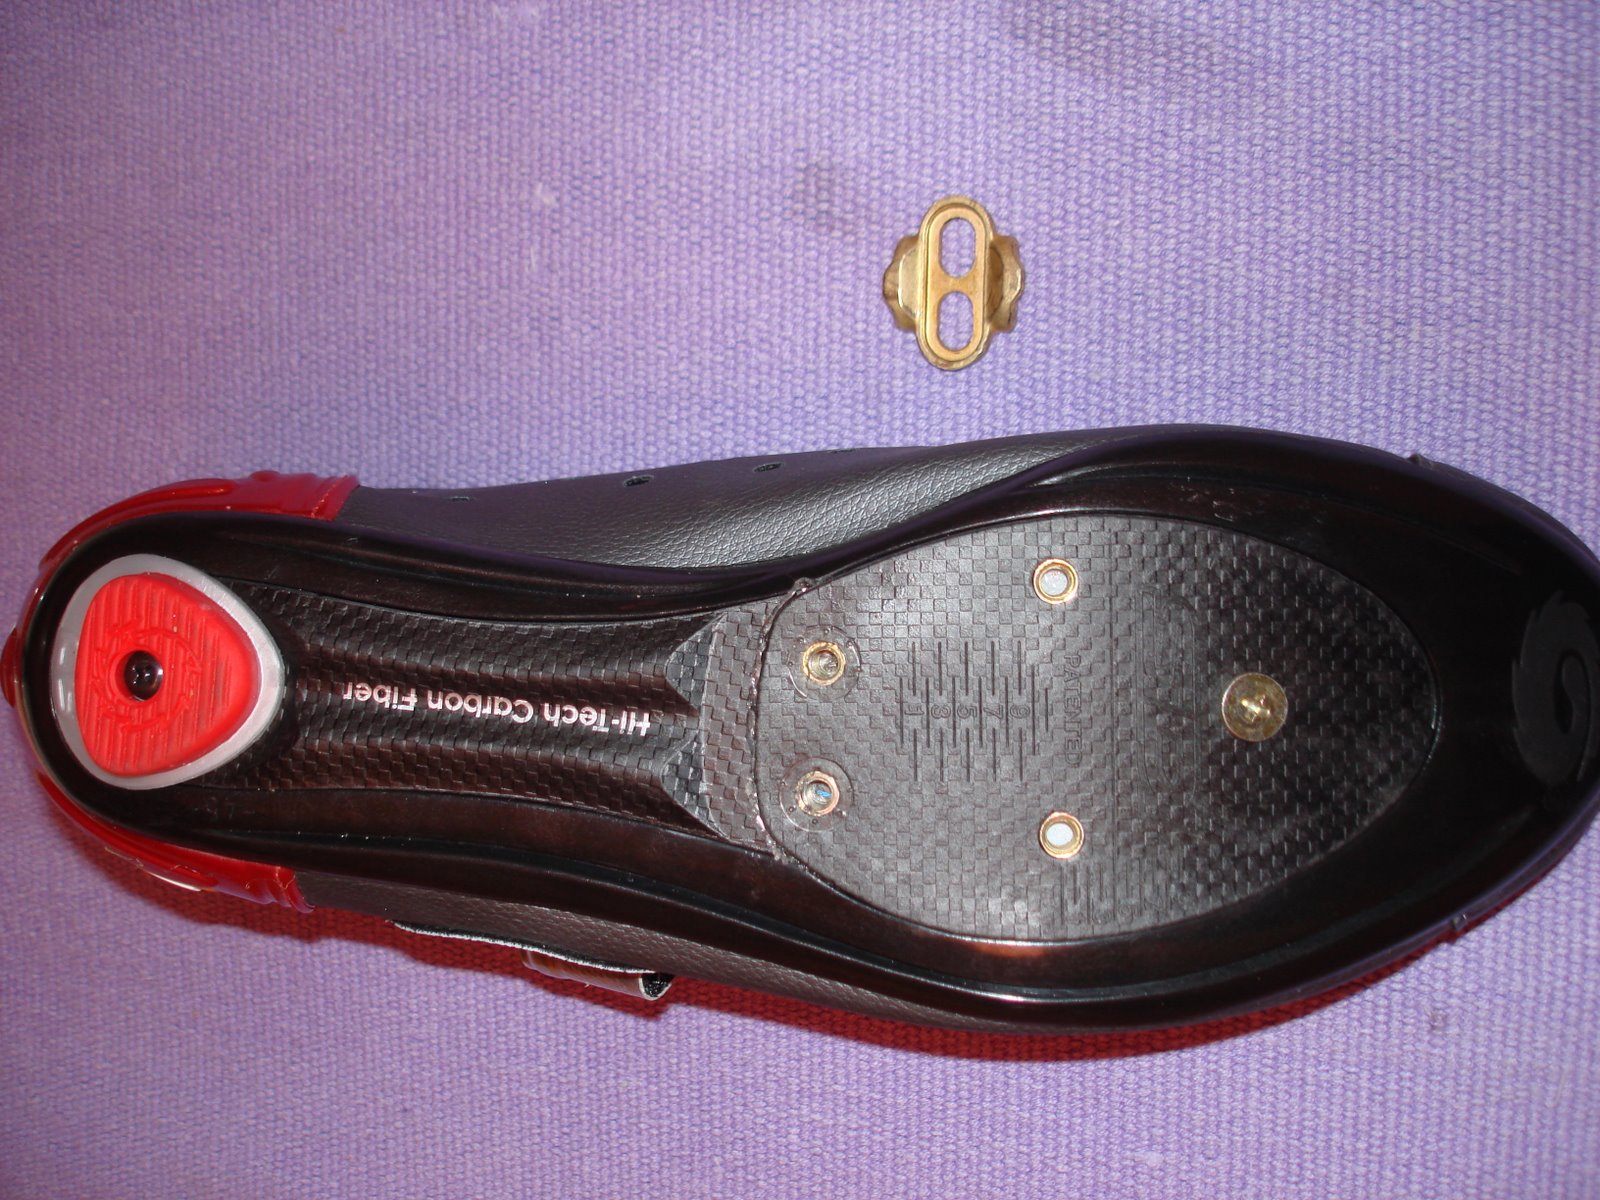
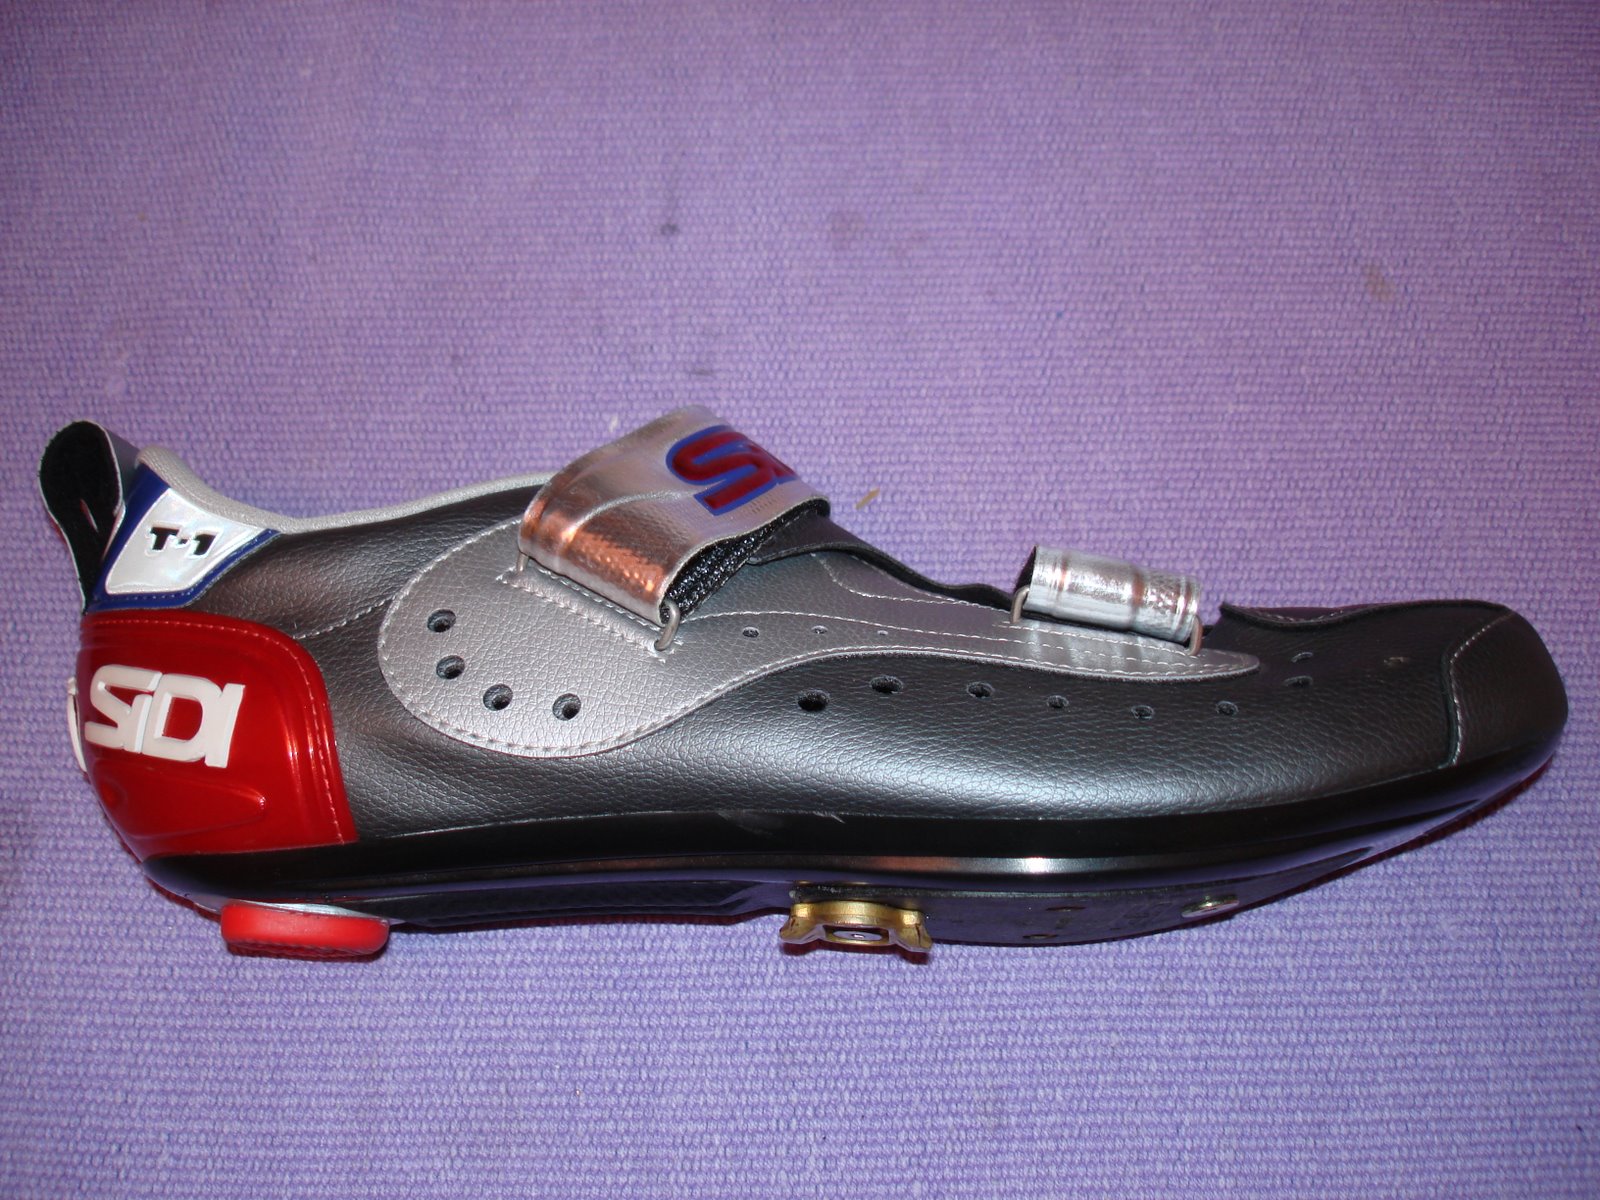
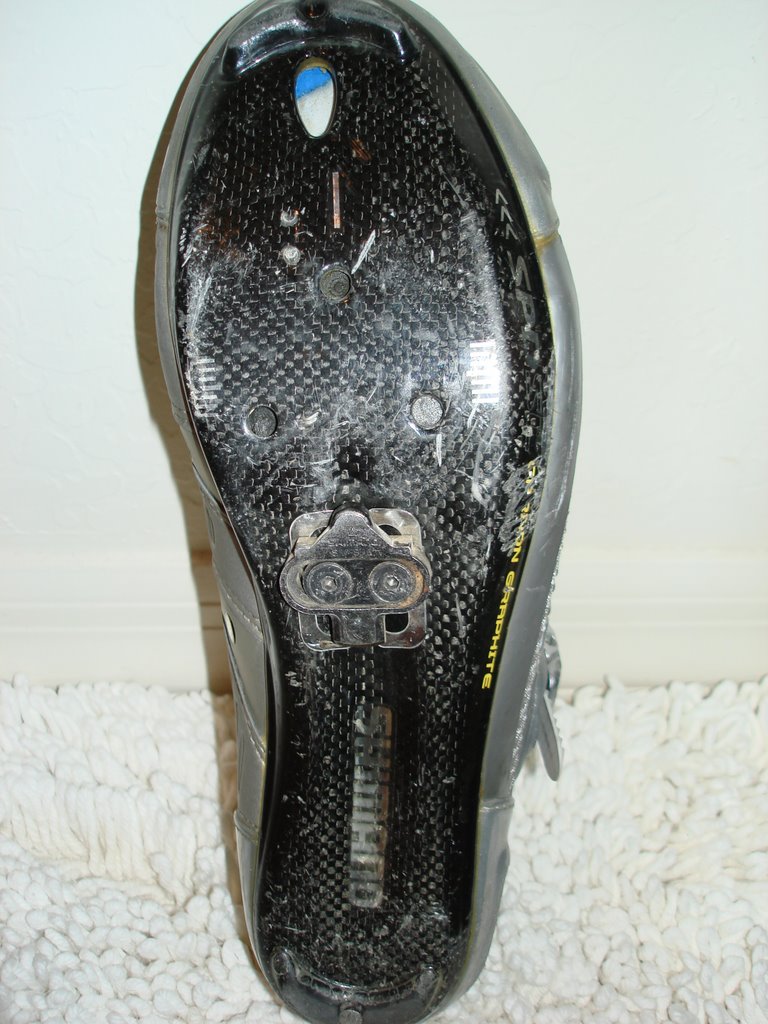
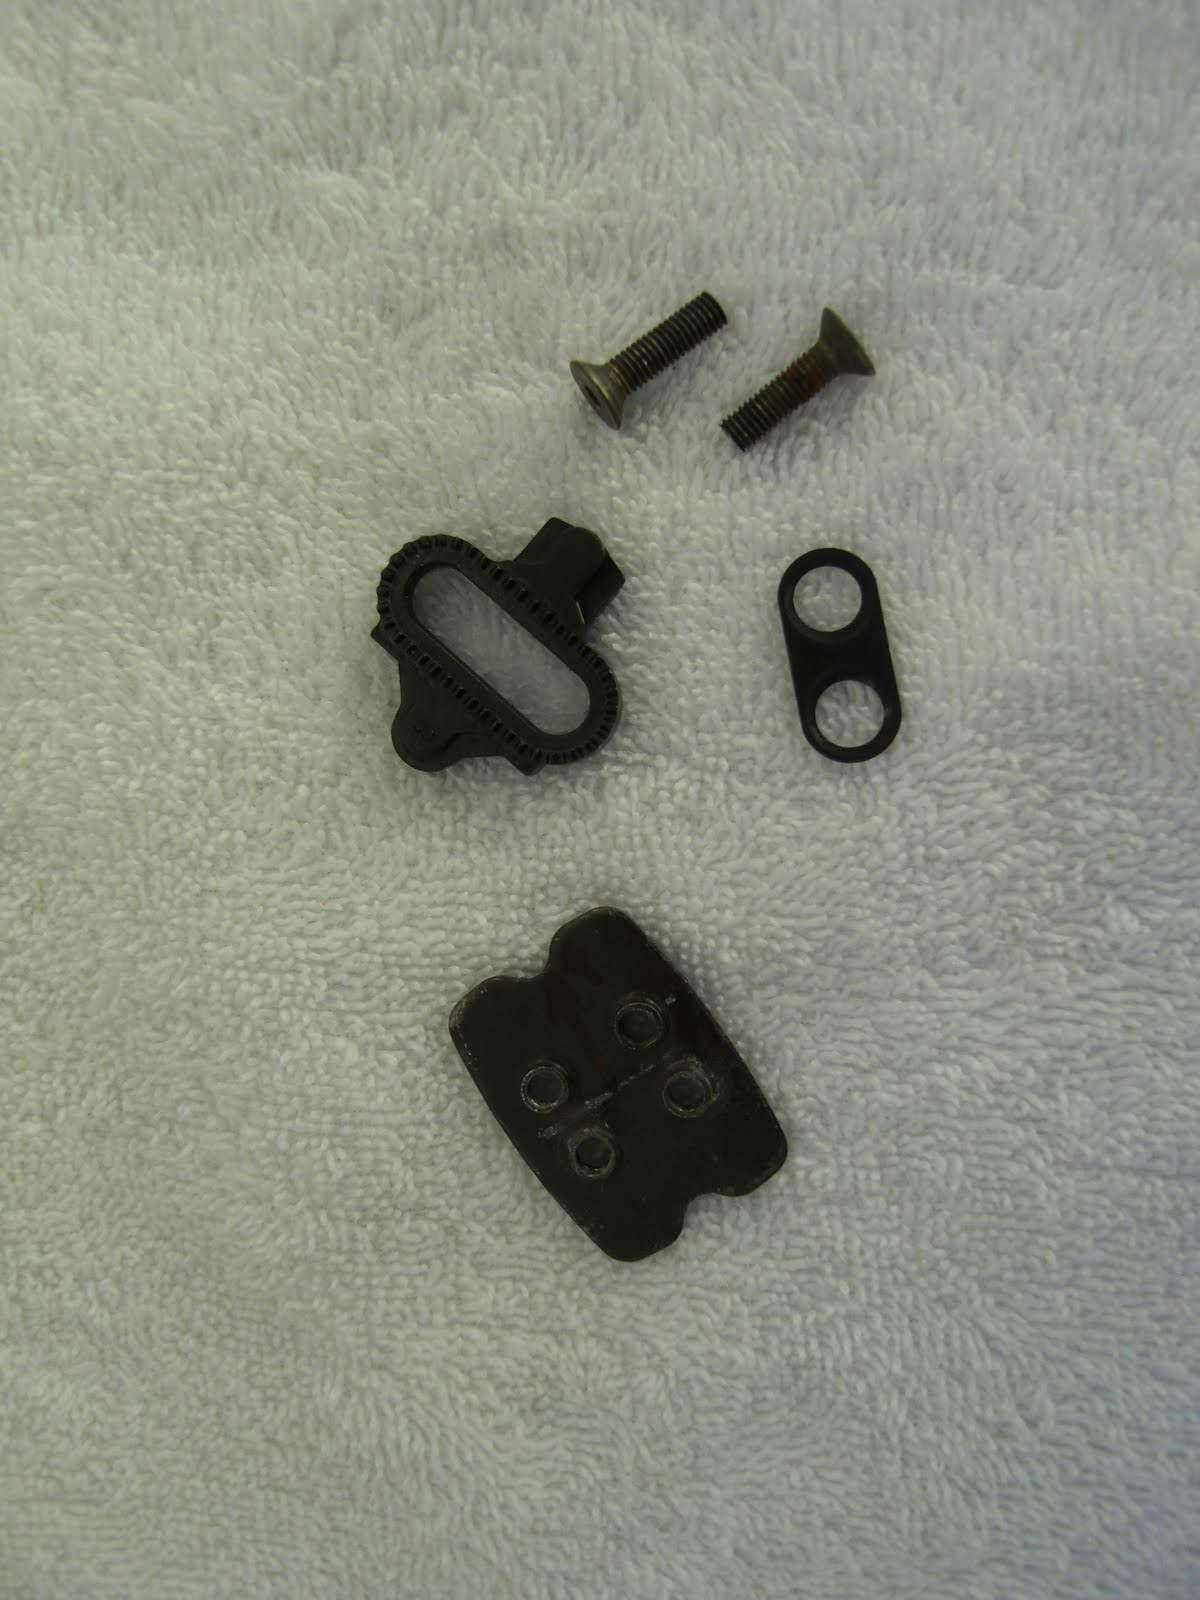
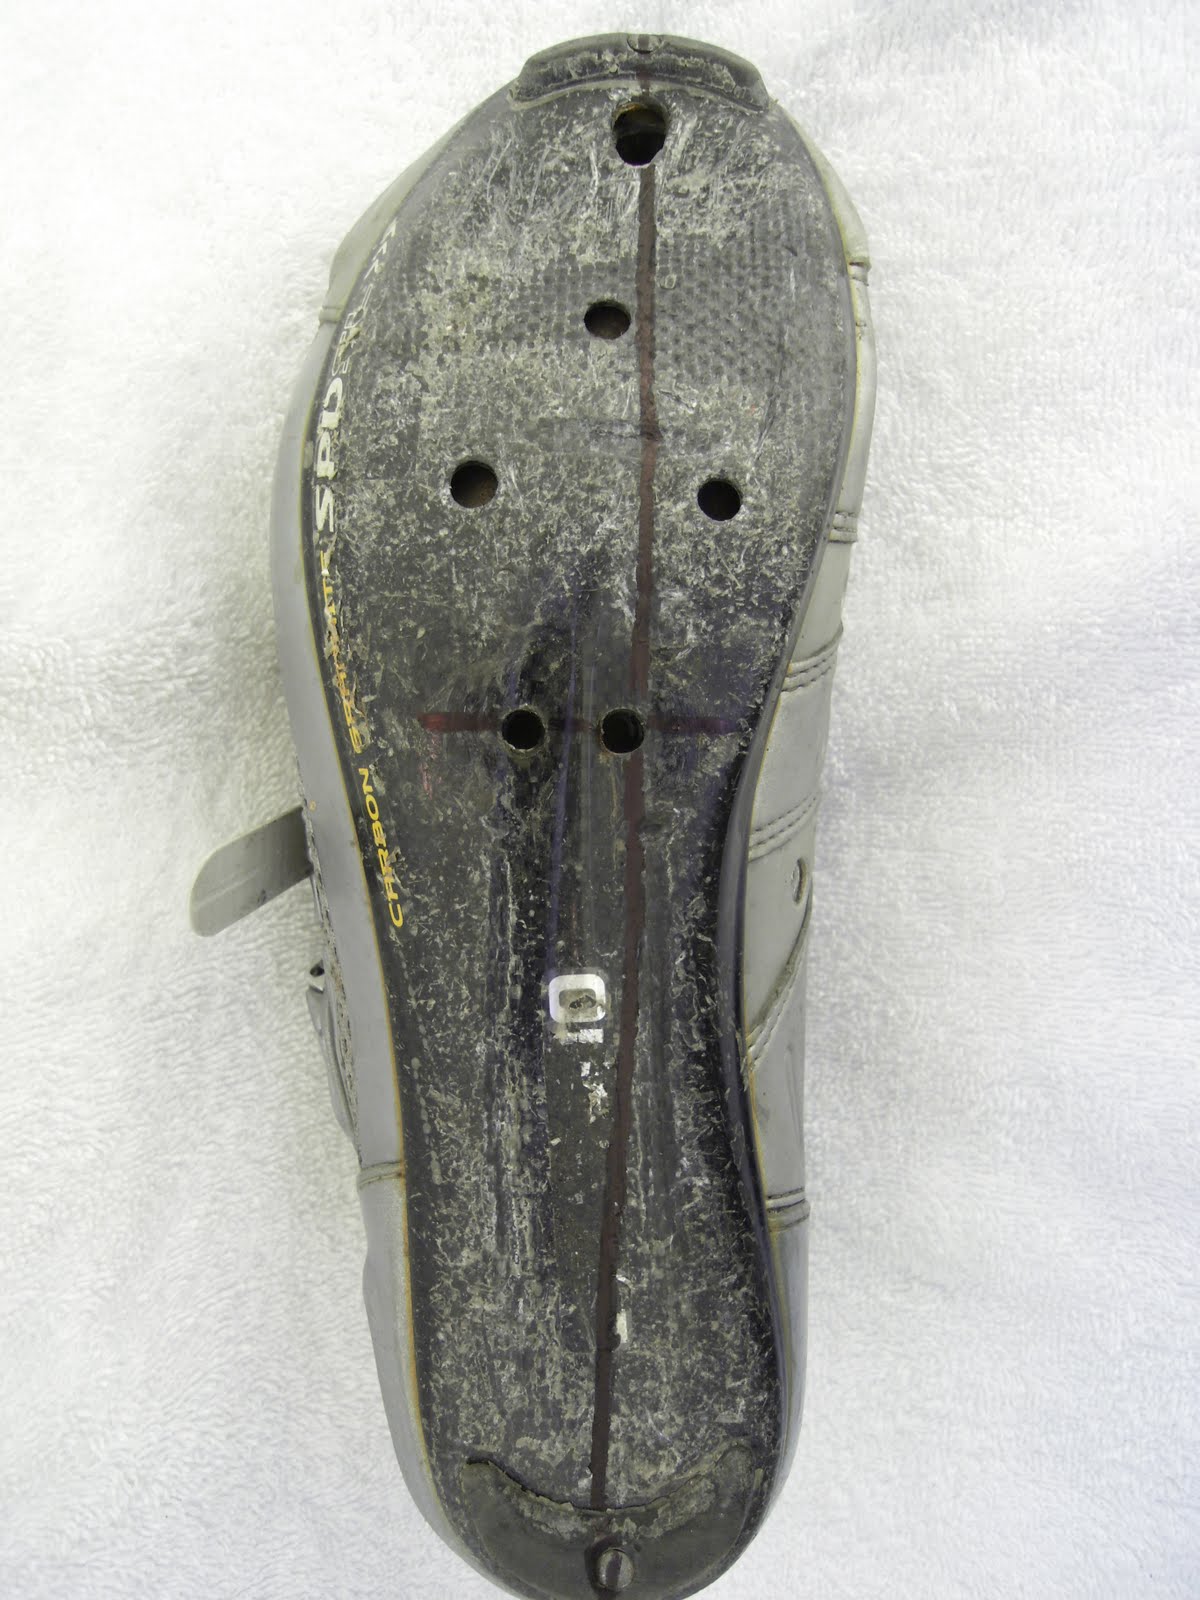
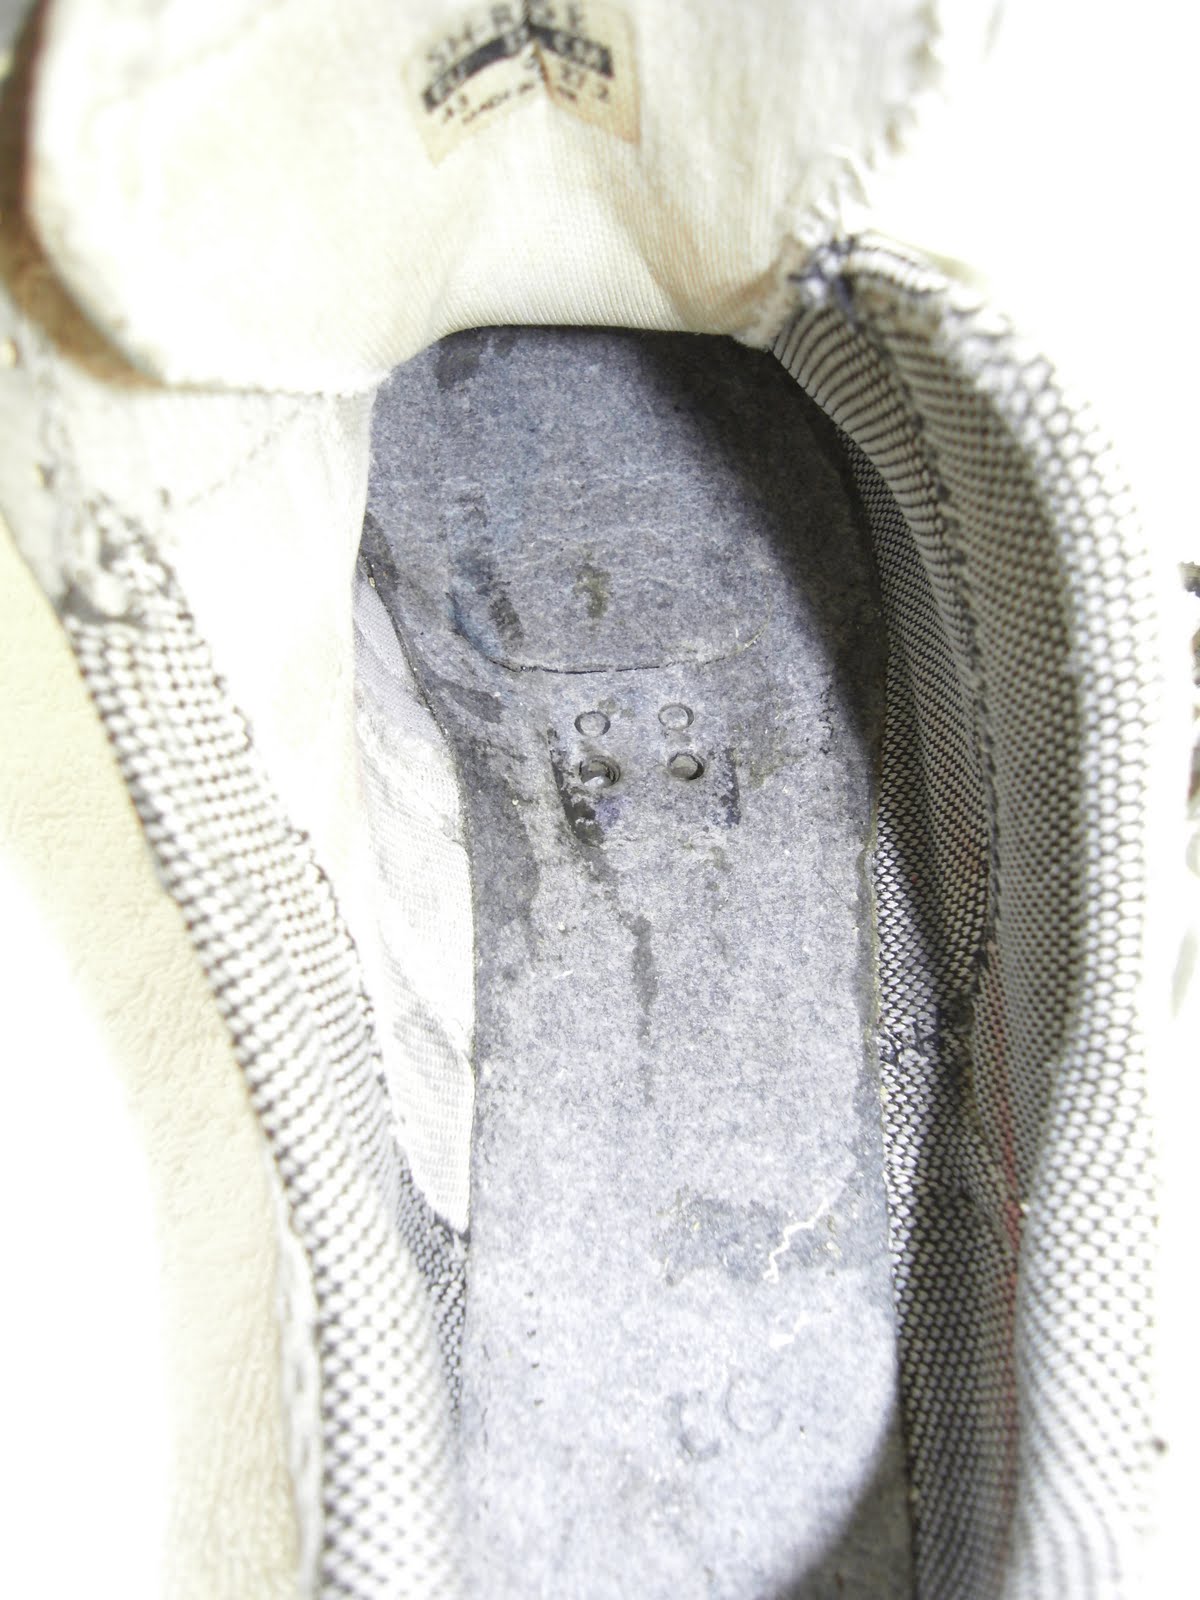
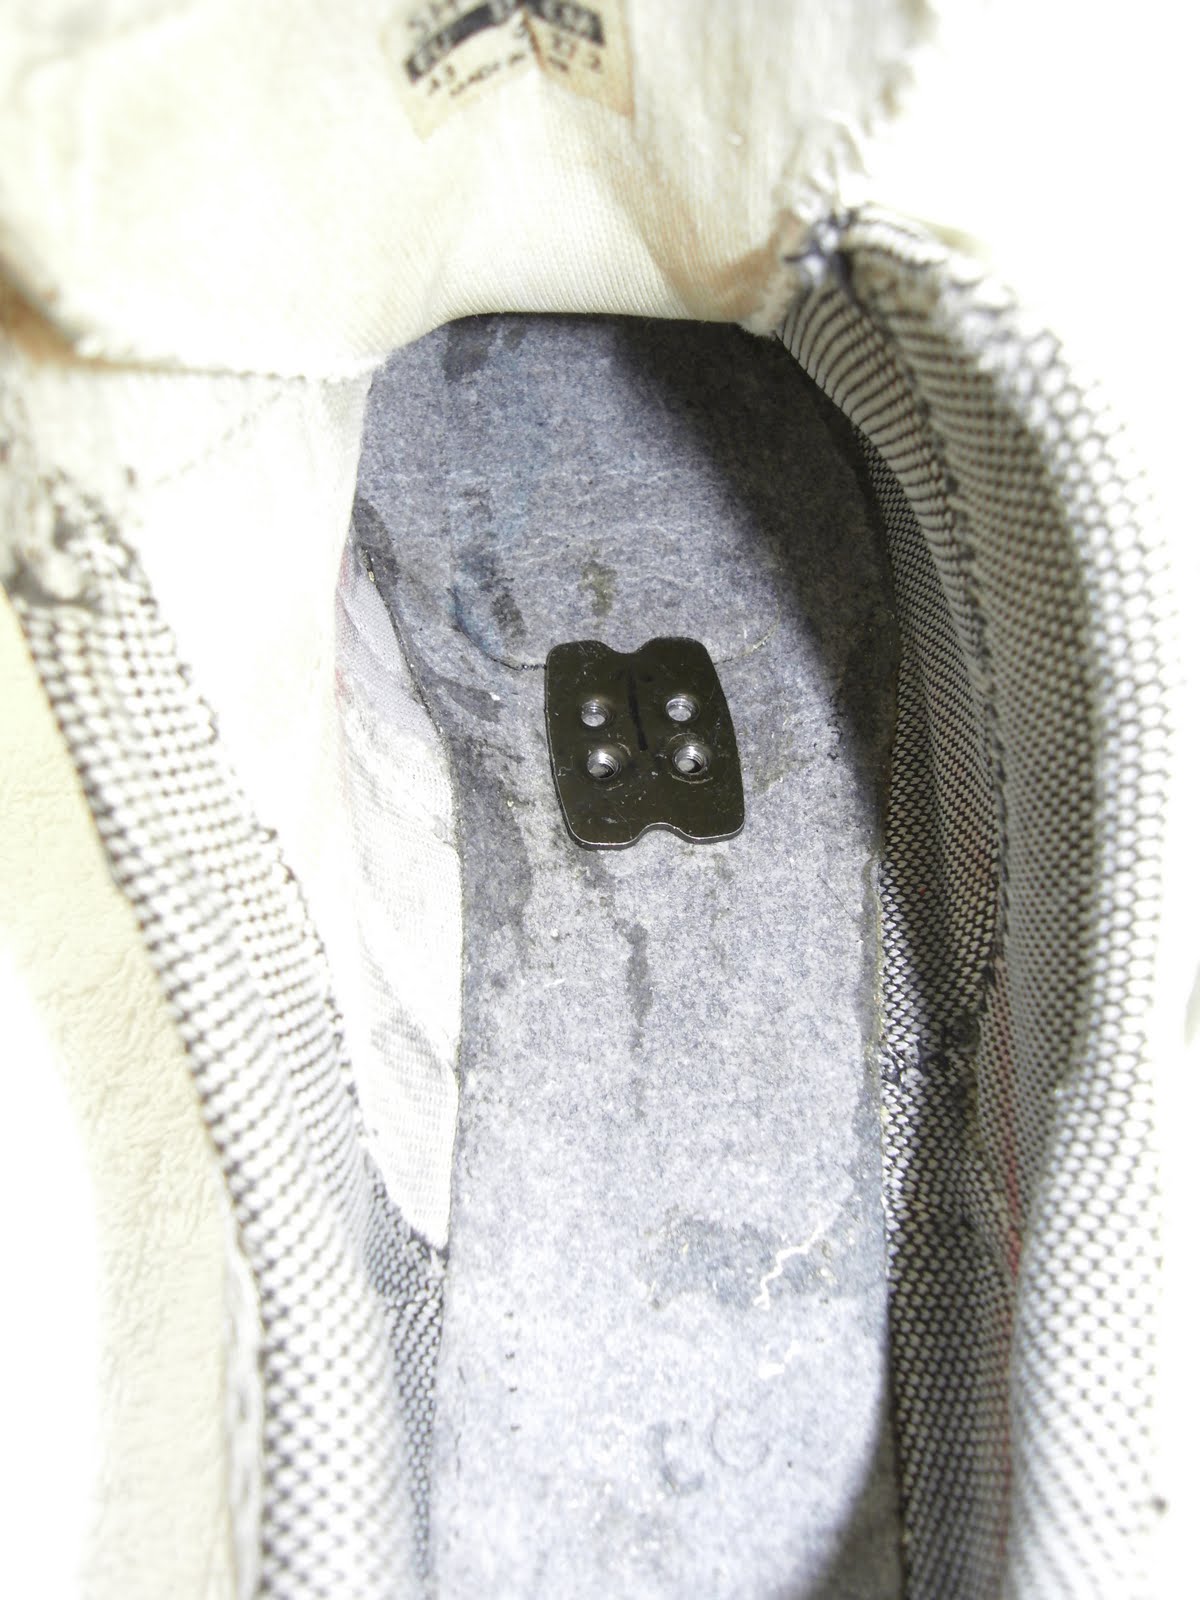
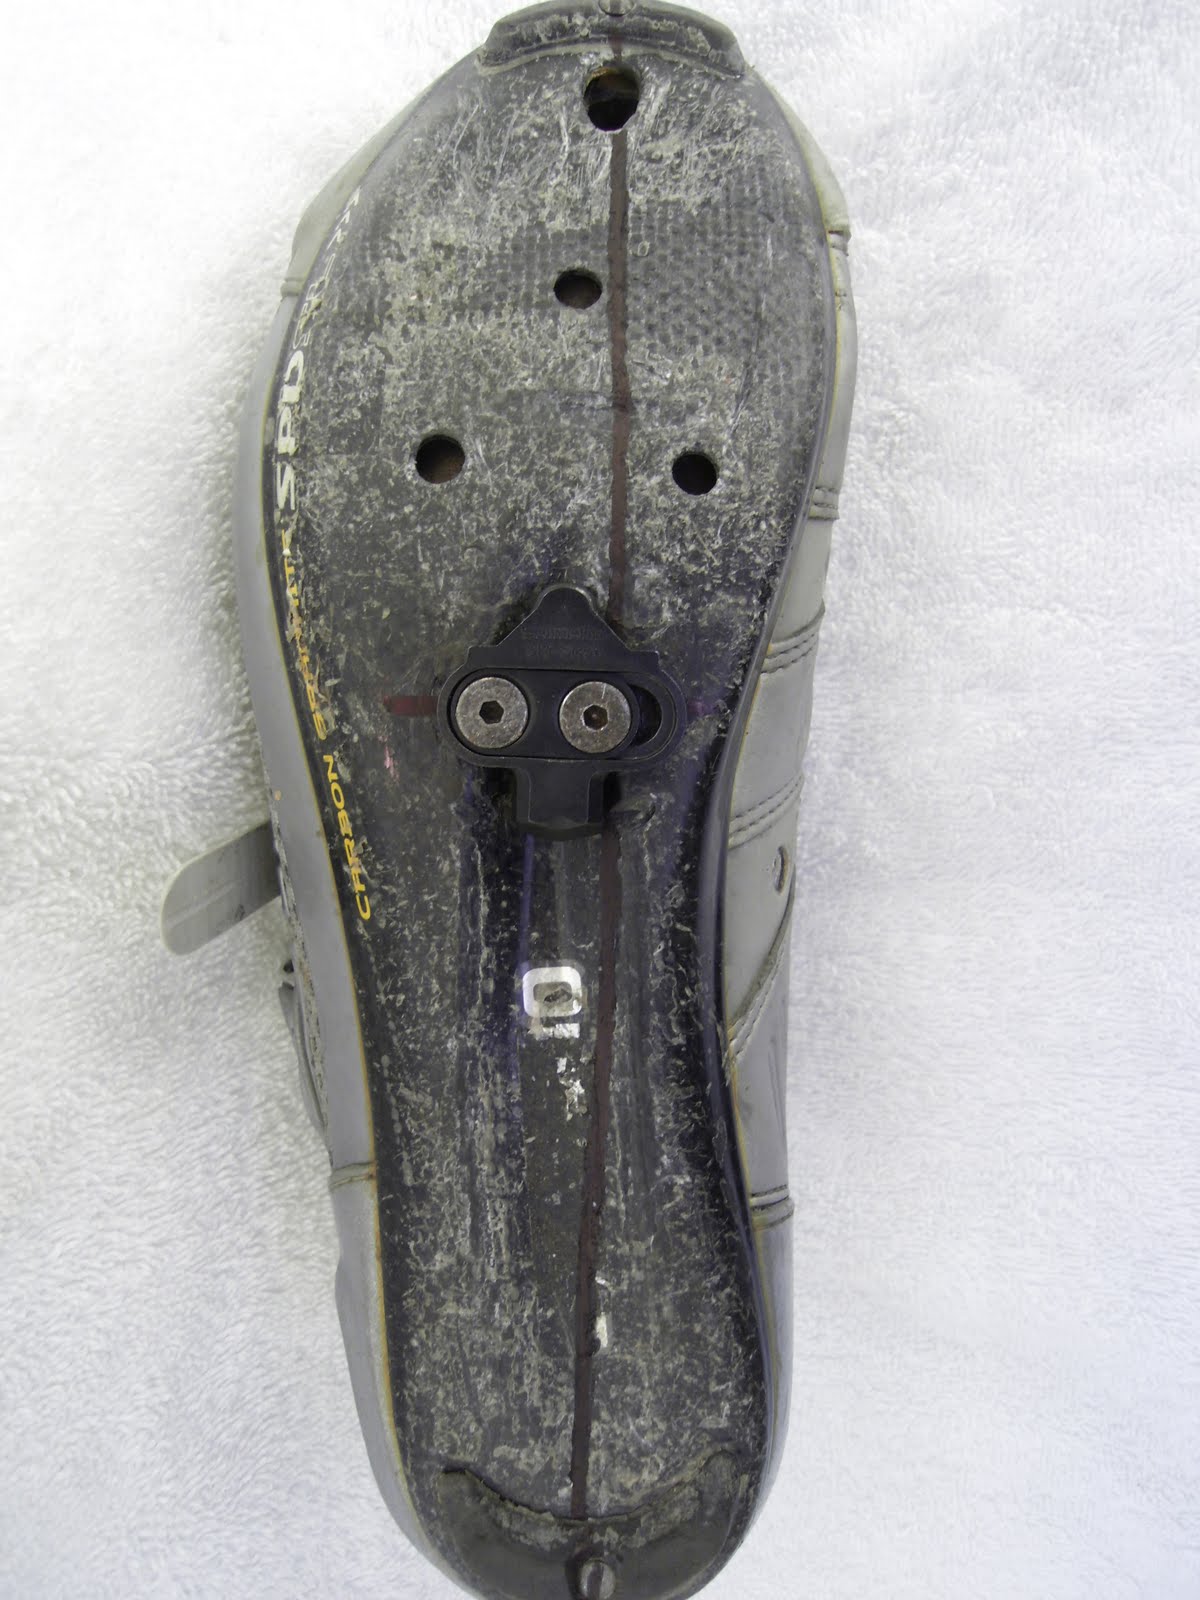
Here's another picture of a reader's custom midsole cleat position. The athlete is Ramon Alarcon and the shoes are Specialized. His comments follow.

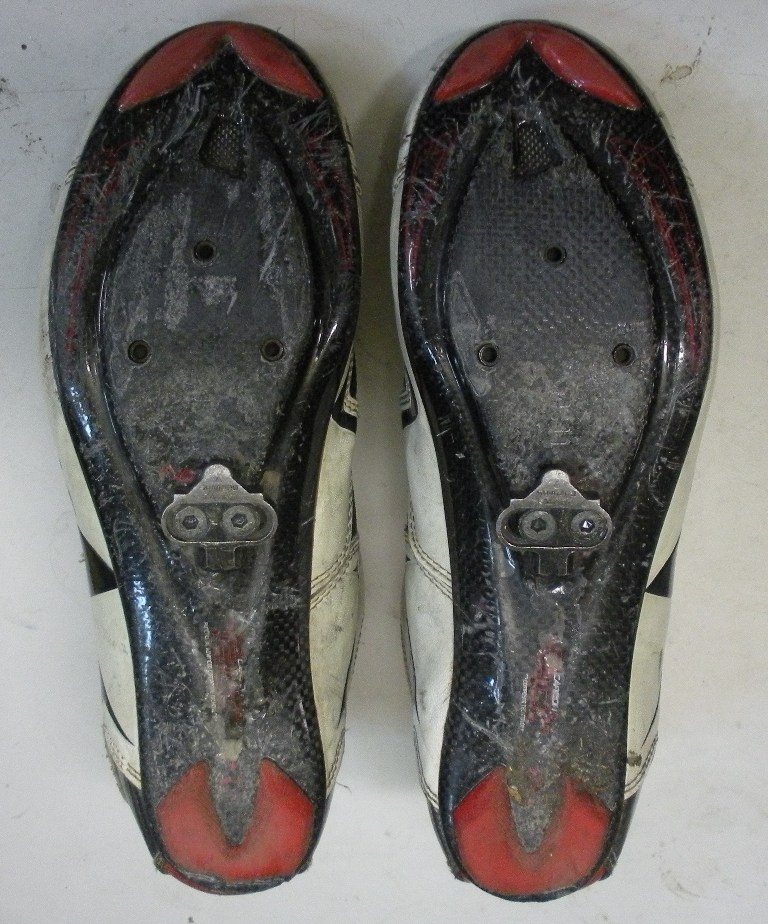
Attached are a couple of pictures of a pair of 2007 Specialized S-Works Road Shoes that I modified to work with the midsole cleat position. In one of the pictures, you can see that because of the shape of the sole, I had to build up the platform to provide a load bearing surface for the cleat. I used a slow setting epoxy to build up this platform below the cleat. So far, I've put about 5k miles on the shoes with no problems.

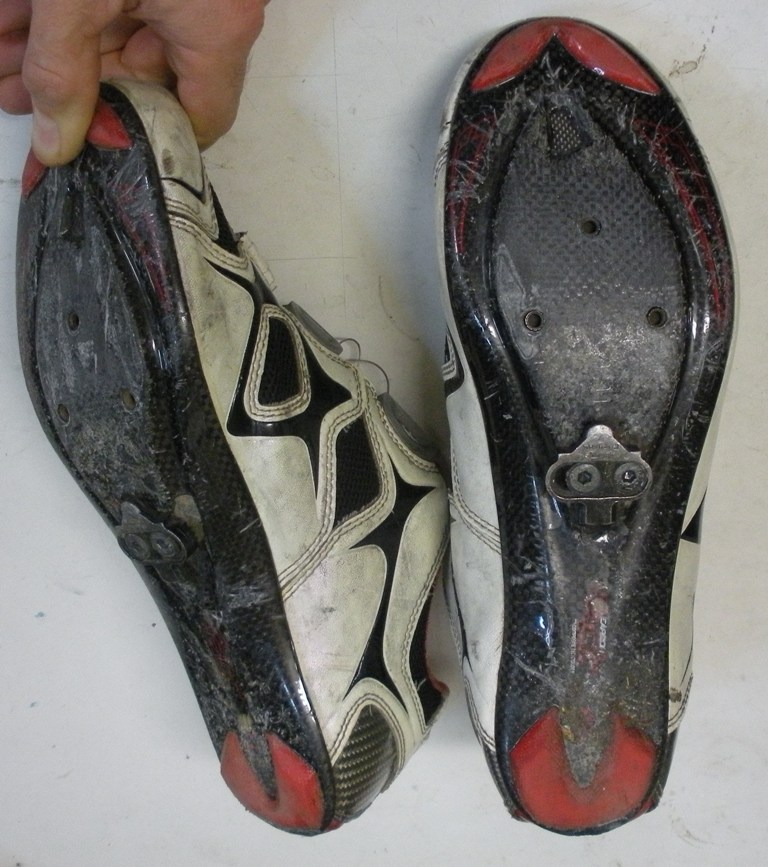
The reason I chose to try the mid-sole position is due to a medical condition. In 2008, I was diagnosed with Exercise Induced Arterial Endofibrosis. For those who don't know about it, it's a narrowing of an artery located in the hip caused by repeated motion under load. The artery in question supplies blood to the leg. Basically, the millions of times your hip flexes while cycling can cause this condition under certain circumstances. This limitation in blood flow was not a problem during moderate training, but it was causing cramping in the quads and possibly calves during intense efforts during races. When I first read about the mid-sole position, I figured, hey, if my blood flow is limited, why would I direct any to supply the calves that aren't needed to move the bicycle forward. Since switching to the mid-sole position, I have had no cramping problems in races. I still notice a drop in power due to the blood flow limitation, but it seems like the mid-sole position has minimized this. I have been able to reach about 96% of the FTP I had before the diagnosis.

One final note. I have my EIAE monitored through regular testing. It has been stable for a year. For the sake of further investigation, my doctor had me participate in a test to measure Popliteal Artery Entrapment. It turns out that, even though I'm not a runner, I have that too. A fairly large percentage of the population may have this. It seems to me that the mid-sole cleat position would provide a benefit to cyclists, especially those who also run, and are thus more prone to developing this condition.


If you use midsole cleats and wouldn't mind sharing a picture of them and any comments on how they've helped you (or not) please send it to me by way of email. So far I've not heard from anyone who found this position to detract from performance. I'd like to see those comments also, especially if you have a sense of why. But there must be an accompanying picture of the shoes you used. Be sure to give me permission to use your picture, comments and name (it's ok if you prefer anonymous). Thanks!

Labels: ,

Saturday, December 26, 2009

Another Midsole Cleat

A few days ago I suggested that if you use bike shoes with a midsole cleat you could send me a picture. I'll post some of them. Here is one from reader Jill Fry along with her comments (posted with her permission). The shoes appear to be Biomac with custom cleat placement. Biomac shoes are described here. Here are Jill's comments on her shoes:

I got these in Oct of this year. Riding in these shoes is NOTHING like riding with the cleats pushed back, completely different feel. My first ride out I was really worried about whether or not I was going to like them, they felt so different. I stuck with it , kept riding in them and after a while they felt 'normal' to me. One of the hardest things to get used to was clipping in! I notice a huge difference in the amount of work my calves are doing when I ride especially on the hills, I feel like they’re hardly working . An Achilles injury that I had been trying to get rid of for months went away within a couple weeks after I started wearing these shoes. I had taken a considerable amount of time off so I didn’t put my power meter on the bike when I first started riding. With all the time off I don’t think comparing with old data would have told me anything . I just started riding with the power meter again, it will be interesting to see the numbers once I get my fitness back and start racing again.

Labels: ,

Wednesday, December 23, 2009

Custom Midsole Cleats


Jim Vance, a pro triathlete who uses midsole cleats, just got his new D2 custom-made shoes. I thought you might like to see what they look like. This is a Speedplay pedal system with a 4-bolt cleat. If you have midsole cleats please send me a picture like this one. I'll post some of them here. Here is my email contact.

Labels: ,

Monday, December 21, 2009

How to Modify Shoes for Midsole Cleat

The first blog I ever posted nearly two years ago is still the most read. The subject was Cleat Position. That post has led to many questions on how to modify an old pair of cycling shoes in order to give it a try. I got another such query this week so it's probably time to explain how with a stand-alone post to save answering this question so frequently.

And to answer another common question on this topic: Yes, I do still use midsole cleats and have seen many others try it with good results, also.

If you decide to modify an old pair of your shoes you will more than likely need to use a mountain bike pedal with a two-bolt cleat as the arch area of most cycling shoes have a bit of a concave curve. That means there would be a gap between the middle of the cleat and the shoe if you used a three- or four-bolt cleat.

Here's how to modify your shoes. The pictures are of an old pair of Shimanos I changed over several years ago.

Step 1. Go to your local bike shop and in addition to mountain bike pedals and cleats get T-nuts and longer bolts than come with the cleats. Here is a picture of the parts you need. The T-nuts may be two, separate nuts instead of one, four-hole nut as shown here.

Step 2. After removing the old cleat draw a straight line from the middle of the toe of the shoe through the middle of the heel as shown in the picture. Measure to find the midpoint of that line and draw a second line perpendicular to the first.

Step 3. Drill two holes on the second line that are spaced appropriately for your cleat and centered on the shoe widthwise. This is the tricky part. It's a good idea to check your measurements again before drilling. The picture here shows those holes from the inside of the shoe with the insole removed. This shoe happens to be smooth on the inside. That makes it easy. My wife's shoes had a recessed pattern of reinforcing squares which had to trimmed in order to insert the T-nuts.


Step 4. Insert the T-nuts as shown here from the shoe's inside.

Step 5. Mount the cleats. Most of these two-hole cleats are adjustable for medial-lateral positioning as shown here. But I've seen some that aren't. If you can't slide it from side to side a bit then the position of the holes becomes even more critical. You could wind up with your feet too wide or too narrow once clipped in. So it's best to get cleats that are adjustable.

Be aware that with a midsole cleat you are likely to have a considerable overlap of the shoe with the front wheel. This makes slow turns a bit dangerous. If your shoe touches the wheel during a turn you may fall. You will eventually get used to this and learn to make slow turns with your outside foot out of the way of the wheel.


Also be aware that by drilling holes in the arch area you may well weaken the construction of the shoes to the point that they break under pressure when sprinting. The more massive the sole construction the less likely this is to be a problem. Thin-soled shoes should not be drilled. I'd suggest using the modified shoes with some caution as you gradually adapt to the new position. Ultimately, if you like what you find, you will want to get a pair of custom-built shoes with a midsole cleat. Perhaps some day a manufacturer will offer such a shoe so you can purchase them off the rack. But for now that is not an option.
Your position on the bike will need adjusting for a midsole cleat. The saddle will need to be lowered and adjusted fore-aft depending on a number of variables such as how steep or relaxed the seat tube is and how big your feet are. You may also need to adjust the handlebars for height and reach after the saddle is set. I'd highly recommend seeing a professional bike fitter to get this done right.

Labels: ,

Friday, December 14, 2007

More on Midsole Cleats

One of the athletes I coach, Jim Vance, a pro triathlete from San Diego, found a pair of cycling shoes that were already drilled for a midsole cleat--the Sidi T-1. In the top picture you can see the sole of the T-1. In the lower picture you can see a sideview of the shoe with the cleat in position.

The holes are positioned perfectly on his size 45s in terms of position on the longitudinal axis--dead center. They are even lined up correctly--perpendicular to the long axis. The only confounding element is that the bolt receptacle holes are spaced slightly wider than the standard drilling for 2-bolt cleats. But this problem was resolved by using a cleat with greater hole width to allow for lateral adjustment.

I noticed in searching the web for information on the T-1 that not all of the models are drilled like this one. I don't know why. The price I found for the T-1 is about US$200.

Labels: ,

Sunday, February 4, 2007

Biomac shoes

There have been a couple of mentions of Goetz Heine's Biomac shoes in the original post and the follow up comments. Here is a picture of his shoe design with the centered cleats. This is the shoe I use and the one Leo refers to in his recent comment.

They are remarkably light--the lightest shoes I have ever worn by far. Without the cleat and insole, each shoe seems to weigh just a bit more than my Oakley sunglasses (I haven't actually weighed them yet).

I showed the Shimano shoe in my original post (below) to illustrate how "some" shoes could be modified to accommodate the centered cleat. But I wouldn't recommend getting out a drill and doing so without learning a lot more about cleat placement. Not all shoes can be modified due to their uneven surfaces in the arch areas.

To learn more about Biomac go to http://www.biomac.biz/.

Labels: ,

Tuesday, January 30, 2007

Cleat position

Why do we place the cleat under the ball of the foot on our cycling shoes? I can find no evidence to support this location. It appears to be simply a result of tradition--cyclists have always done it that way. Last July former pro cyclist and shoe designer Goetz Heine (www.biomac.biz) suggested I try putting my cleats in the arch of my shoes. With some skepticism I tried it. To my amazement my performance improved. In fact, my power-heart rate ratio which I tracked for years improved by 9%. That's a huge change.

Here you can see a picture of my Shimano road shoe with an SPD mountain bike cleat in the arch. I used a mountain bike pedal since the cleat has only two holes and I didn't want to punch too many in the shoe. Crank Brothers pedals also work well for this position.

Since changing over last summer I've done some searching of the scientific literature and found only two studies which looked at the traditional vs. the aft cleat position. Both found there was no difference whether the cleat was under the ball of the foot, at the arch area, or somewhere in between. And those studies were done with experienced cyclists who had not adapted to the arch position.

So is there an advantage in placing the cleats farther back? I believe so. Economy - how much effort it takes to ride at a given power output - improves. There may be lots of reasons for this which I won't go into here. Another advantage is that the biggest muscles of your body - the quads and glutes - are used more since the calf - a relatively small muscle - is now less active and no longer serves as a "transmission" for the biggest muscles. This latter point is especially beneficial for triathletes who rely on those calf muscles as their primary mover when they start the run. Fresh calf muscles mean a better run.

Should you try it? I've suggested to all of the athletes I coach that they move their cleats back toward the heels as far as they can. All that have tried it reported feeling more powerful. The next step for those who use Speedplay pedals will be to try Speedplay's new adaptor (cost $25) which allows them to put the cleat even farther back. If that still feels OK then we will talk about either modifying their existing shoes (not all can be re-drilled) or having custom shoes built (Rocket 7, DS Shoes, BioMac).

Labels: ,